Prerequisites
- A Mintlify project connected to a GitHub or GitLab repository
- For GitHub: the Mintlify GitHub App installed on every repository you plan to use in the automation
- For GitLab: a connected GitLab account (see GitLab setup below)
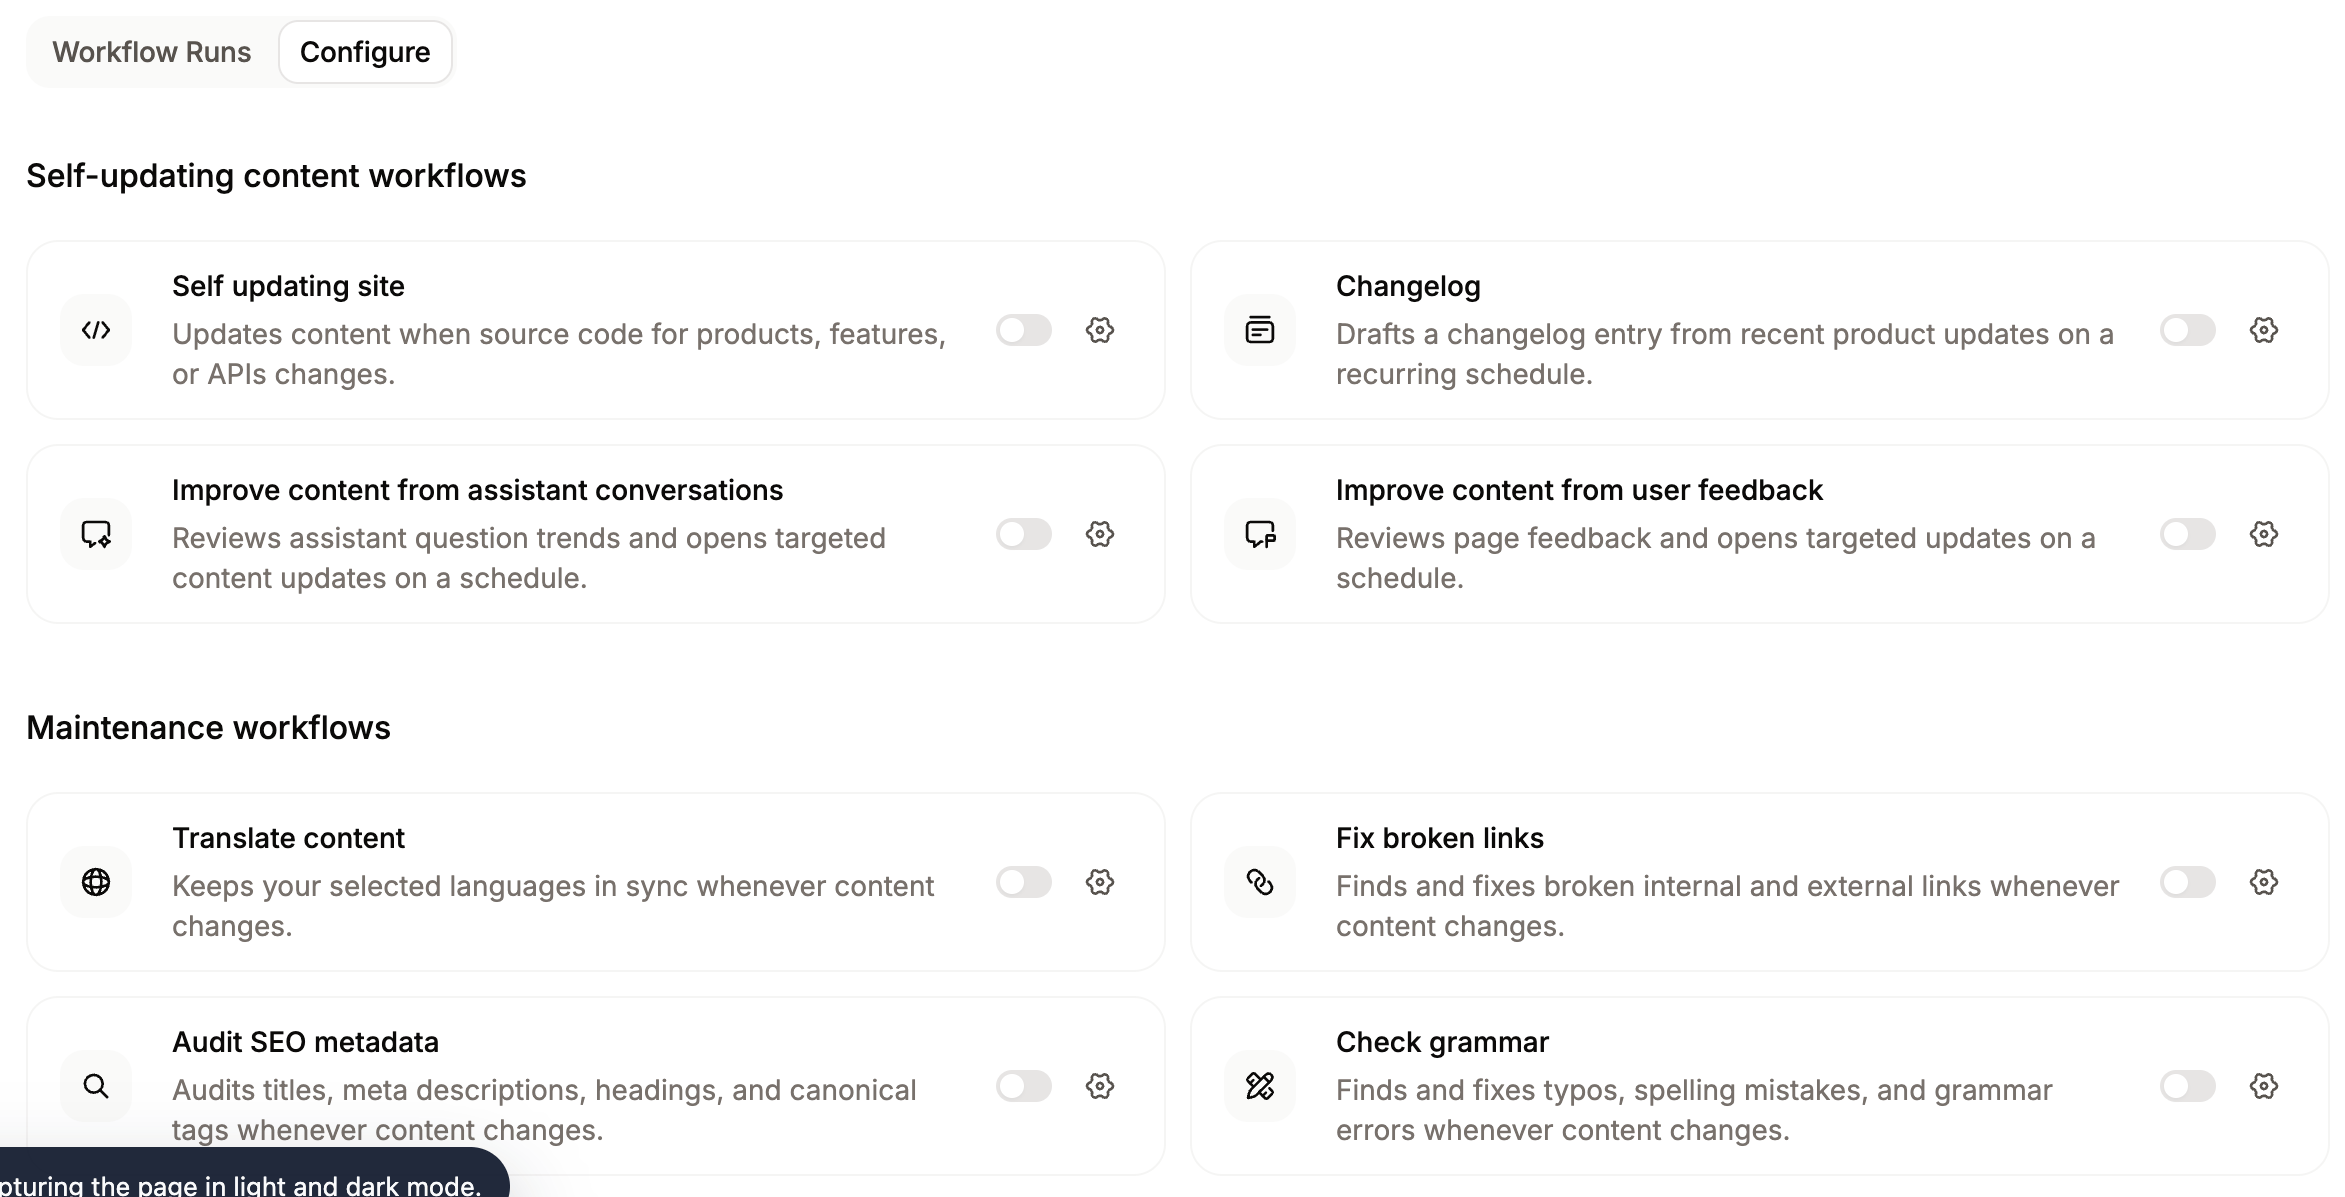
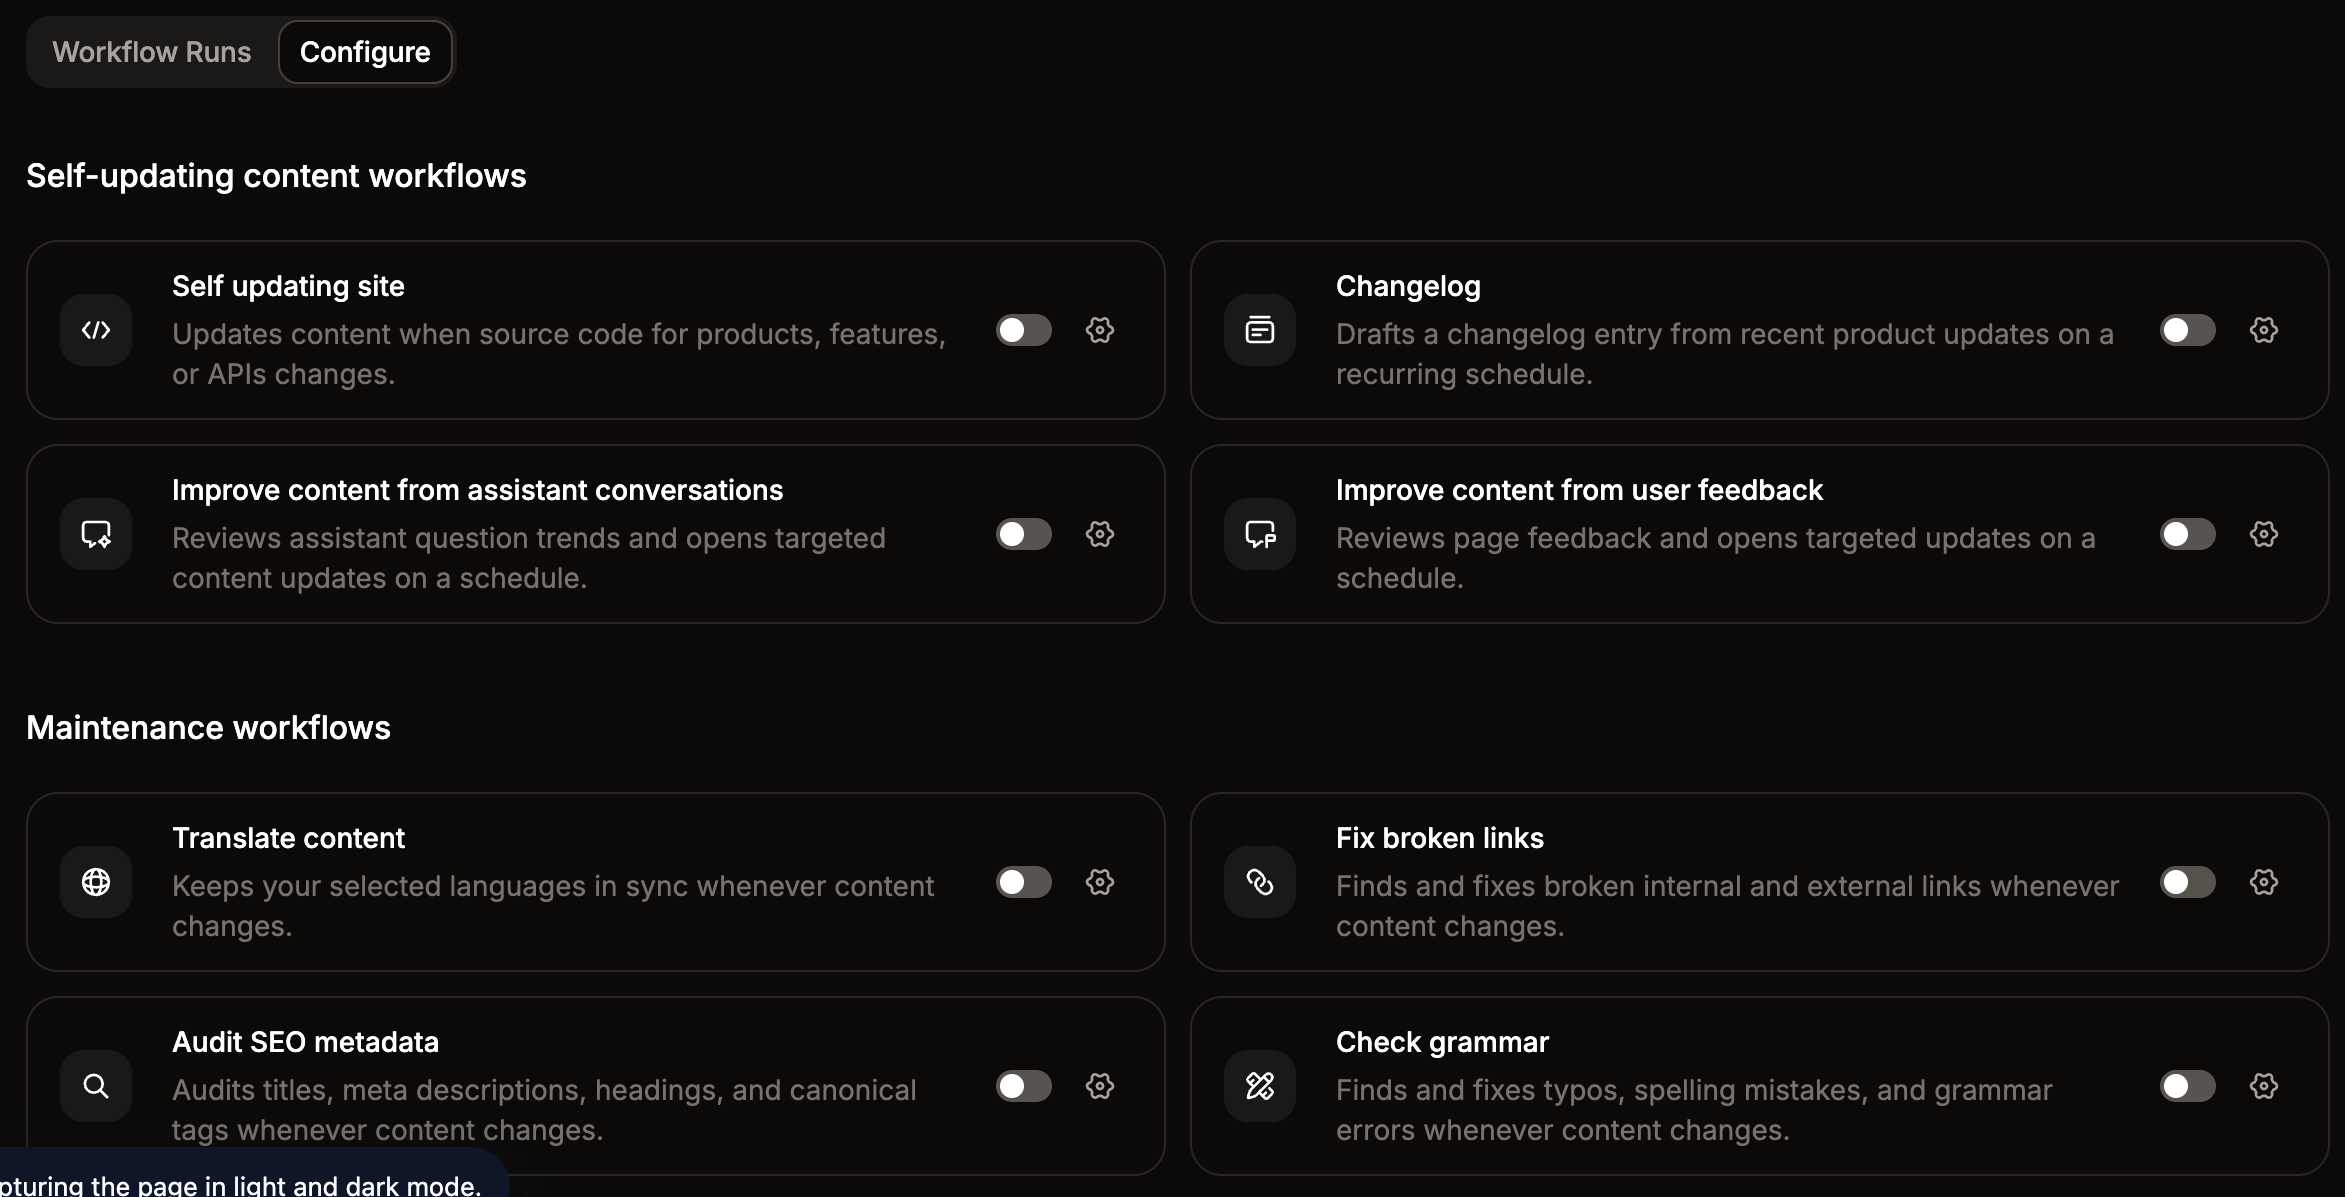
Enable an automation
- Open the Automations page in your dashboard.
-
Click the toggle beside an automation to enable it.
If the automation can run with default settings, it activates immediately. Otherwise, the settings panel opens so you can fill in any required configurations.
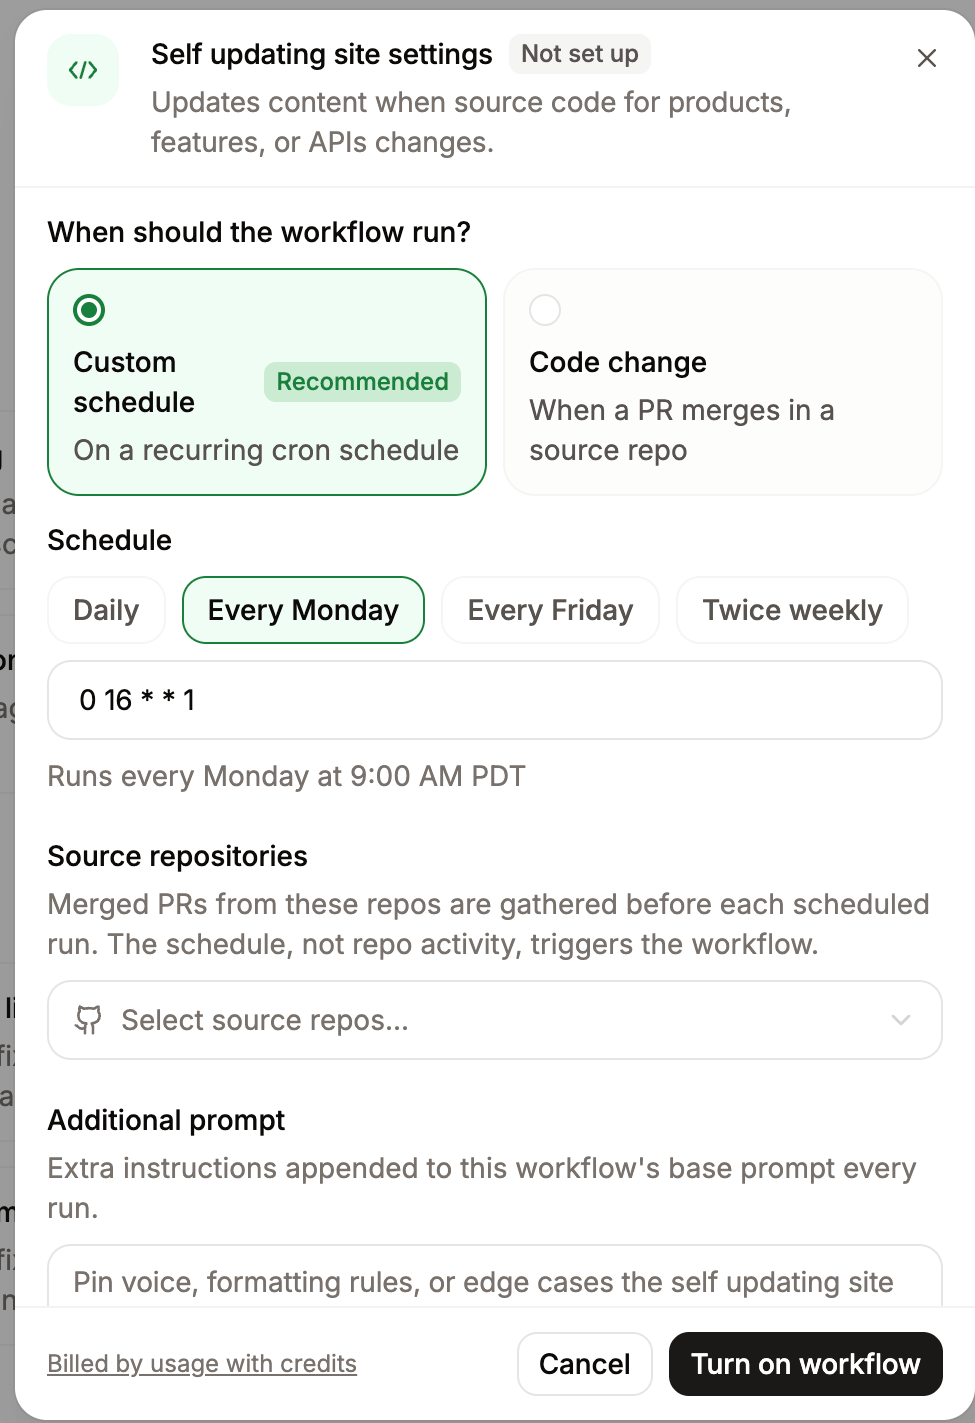
- If the settings panel opens, fill in the required fields.
- Click Turn on automation.

Configurations
Trigger
Each automation has a default trigger that controls when it runs. To change the trigger, select a different option in the settings panel.- Content update: Runs whenever you push content to your project repository, including pull request merges and direct pushes.
- Code change: Runs when a pull request merges in a connected source code repository. You must specify at least one source repository.
- Custom schedule: Runs on a recurring schedule you define. Automations queue within 10 minutes of the scheduled time.
Update mode
Each automation has a default mode for how it makes updates: either directly merging changes into your content repository, or opening a pull request for review. To require a review before the automation updates your content, select Require review in the settings panel.For GitHub repositories, automatic updates require the Mintlify GitHub App to have bypass permissions on every ruleset targeting your deploy branch, including organization-level and repository-level rulesets. See Configure automerge for setup instructions.For GitLab repositories, automerge uses the GitLab OAuth connection and requires at least the Maintainer role on each project.
Context repositories
For custom automations and some predefined automations, you can add context repositories—additional source code repositories the agent reads when the automation runs. This is useful when your automation prompt references code, APIs, or other content that lives outside your project repository. You can add up to 10 context repositories per automation. For each GitHub repository, install the Mintlify GitHub App. Add repositories on the GitHub App settings page.Integrations
For custom automations and the Update from code changes automation, you can enable connected agent integrations. The agent then pulls context from tools like Slack, Notion, or Linear when the automation runs. To enable integrations for an automation, open its settings and select the integrations you want the agent to use in the Available integrations section. Only integrations already connected for your organization appear in the list. See Agent integrations for more information on connecting integrations.Slack notifications
Send Slack messages to one or more channels when automations run. To enable Slack notifications:- Install the Mintlify Slack app in your workspace.
-
Click Turn on Slack notifications on the Automations page of your dashboard.

- Select one or more notification channels.
- Click Save changes.

- An automation opens a pull request for review.
- An automation pull request has been waiting for review for three days.
- An automation merges a pull request, or fails to complete.
Instructions
Add optional instructions that append to the automation’s base prompt on every run. Use these to adjust the style, tone, or other project-specific behaviors without changing the core automation logic.Target languages
When you enable the Translate content automation, select one or more languages to keep in sync with your source content.- Mintlify reads the languages defined in your
docs.jsonto identify your default language and preselects any already configured target languages. - You must select at least one target language to save the automation.
- You cannot select the source language as a target.
GitLab setup
To use GitLab repositories in an automation, connect each project through the GitLab OAuth settings page. Connect every repository the automation touches—your documentation repository and any trigger or context repositories. You must have at least the Maintainer role on each project.Automations require a paid GitLab tier. The agent uses short-lived project access tokens for repository access, which GitLab’s Free plan does not support.
Disable an automation
- Open the Automations page in your dashboard.
- Click the toggle beside an automation to disable it.
Run an automation manually
You can trigger any enabled automation on demand without waiting for its next scheduled or event-based run.- Open the Automations page in your dashboard.
- Click the run button beside the automation you want to start.
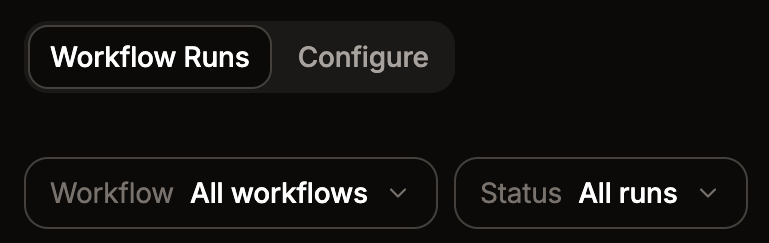
View run history
Each automation keeps a log of past runs, including the status and a summary of changes made.- Open the Automation Runs page in your dashboard.
-
Use the dropdown menus to filter by specific automations or status.

- Queued: The run is waiting to start. Scheduled runs queue within 10 minutes of the scheduled time.
- In progress: The agent is actively working on the run.
- Succeeded: The agent finished the run. If the automation made changes, the run links to the resulting commit or pull request.
- Failed: The agent could not complete the run. Failed runs do not count toward your daily run limit.
- No changes: The agent finished the run but did not find anything to update.
Continue a run in the editor
After an automation completes and creates changes on a branch, you can open those changes directly in the editor to review, refine, or publish them.- Open the Automations page in your dashboard.
- Click View changes beside the workflow run you want to continue working on in the editor.